Autoclaves alone cannot guarantee patient safety. This principle remains the foundational pillar of any healthcare practice. Yet, the success of medical sterilization extends far beyond simply pressing the start button on a steam chamber. How are your instruments packaged? How are they processed and monitored? These critical steps dictate true asepsis.
Clinic staff in dental, medical, veterinary, and tattoo settings frequently encounter hidden sterilization failures. Common issues range from wet packs and punctured paper to misinterpreted indicator colors. These mistakes easily trigger severe compliance violations. More importantly, these oversights compromise patient safety. Checking indicator changes actively prevents these dangerous infection control errors.
In this comprehensive guide, we break down how to properly prepare, load, and verify packaging. We will explore how to interpret chemical reactions, choose the right enclosure formats, avoid daily processing mistakes, and meet strict industry guidelines.
Key Takeaways
Dual Verification is Crucial: Clinics must rely on both internal and external chemical indicators. This confirms that specific time, temperature, and steam parameters were successfully met during the cycle.
Size Dictates Success: Overstuffing or using an incorrectly sized enclosure compromises the sterile barrier. It actively prevents steam penetration.
Format Matters: Selecting between a pre-cut format and a continuous roll depends heavily on your clinic volume, instrument variety, and workflow efficiency.
Compliance is Mandatory: Proper documentation, eliminating folding errors, and adhering to official monitoring guidelines protect the patient and the practice from liability.
The Role of a Sterilization Pouch in Medical Sterilization
To maintain a truly aseptic clinical environment, practitioners must understand the underlying mechanics of their packaging materials. The sterilizer is responsible for eradicating microbial life. In contrast, the packaging itself is solely responsible for maintaining that state of asepsis until the instrument reaches the operatory.
What is a Sterilization Pouch?
A sterilization pouch is a highly specialized, single-use packaging system. It is engineered to encapsulate medical and dental instruments during the autoclave cycle. Its primary function actually begins the moment the sterilizer door opens. Once the instruments are fully processed, the packaging acts as an impenetrable shield against environmental contaminants, airborne pathogens, and physical contact. Without a properly functioning barrier, instruments become contaminated immediately upon exposure to ambient clinic air.
The Anatomy of a Three-Layer Sterile Barrier
High-quality sterile packaging relies on precise engineering to balance permeability with robust protection. Premium pouches typically utilize 60gsm or 70gsm medical-grade kraft paper combined with a multilayer film. The anatomy of a standard pouch consists of a three-layer sterile barrier system:
Medical-Grade Paper: This side of the pouch is highly porous at a microscopic level. The specific pore size allows sterilants like pressurized steam or Ethylene Oxide gas to penetrate the barrier. Simultaneously, the pores are small enough to act as a tortuous path, actively filtering out bacteria.
Transparent Polymeric Film: The clear side is constructed from a resilient blend of polyester and polypropylene, commonly known as PET and CPP. This transparent film allows clinic staff to visually identify the instruments inside without breaking the sterile seal. It is specifically engineered to withstand high temperatures without melting or adhering to the tools.
Strong Heat-Sealed Borders: The edges where the paper and film meet are bonded using wide, multi-line heat seals. These seals must endure the extreme pressure fluctuations and vacuum phases of the cycle without bursting or separating.
Internal vs. External Indicators: What Clinics Must Check
Infection control protocols demand objective verification. Relying on assumptions leads to critical cross-contamination. Consequently, clinical staff must systematically evaluate chemical indicators to confirm that the necessary physical parameters were achieved.
Understanding External Indicators and Indicator Tape
External indicators serve as the first line of visual verification. They are typically printed directly onto the external surface of the paper or applied manually using indicator tape. It is vital to understand their limitations.
According to industry standards, an external indicator only verifies that the package was exposed to the physical sterilization process. It confirms the package was subjected to heat inside an active autoclave. However, an external color change does not guarantee that steam successfully penetrated the packaging. It also does not confirm the instruments inside are sterile. It simply differentiates processed packages from unprocessed ones, preventing staff from accidentally using raw tools.
The Critical Role of Internal Multiparameter Indicators
Because external markers provide limited data, internal multiparameter indicators are an absolute necessity. These chemical inks are placed directly inside the packaging alongside the instruments. They are formulated to react only when multiple critical variables are met simultaneously. For steam processing, these variables include exposure time, reaching the specific thermal threshold of 134 degrees Celsius, and the presence of saturated steam.
During a successful cycle, the internal ink undergoes a distinct chemical reaction. It transitions from its original color to a dark, definitive shade. If the internal indicator shows fading, a partial shift, or no change at all, it signals a failure in steam penetration. In such scenarios, the instruments must be considered contaminated.
The 5-Step Sterilization Pouch Indicator Checklist for Clinics
Picture a bustling dental practice on a Monday morning. The rush to turn over operatories often tempts staff to hastily cram instruments into whatever packaging is closest. This shortcut is a recipe for disaster. To mitigate human error, clinics should implement a standardized five-step workflow.
Step 1: Pre-Sterilization Inspection
Before placing any instrument into a pouch, conduct a rigorous visual inspection. Examine the medical paper for thin spots, tears, or discoloration. Check the transparent film for scratches. Most importantly, inspect the factory-sealed edges. If there are signs of weak bonding, discard the pouch immediately.
Step 2: Verifying Proper Sealing
The integrity of the closure is just as critical as the factory seams. Staff must fold the adhesive flap exactly along the perforated line. Folding above or below the perforation creates tiny gaps known as micro-channels at the corners. These microscopic tunnels allow ambient air and bacteria to bypass the adhesive during storage. Firmly press the strip from the center outward to ensure a continuous, airtight seal.
Step 3: Post-Cycle Visual Indicator Check
Immediately after the cycle concludes and the load cools, evaluate the chemical indicators. An external tape or printed mark should show a complete color shift. Internally, look for a solid, uniform color change matching the manufacturer reference guide. If any indicator fails to meet the passing criteria, reject the entire package.
Step 4: Inspecting for Wet Packs
A successful cycle concludes with completely dry instruments. If a package emerges with visible moisture droplets on the film, or if the paper feels damp, it is classified as a wet pack. Moisture fundamentally destroys the sterile barrier by acting as a wick. It actively draws environmental bacteria through the pores. Wet packs are unsterile and require complete reprocessing.
Step 5: Log Keeping and Documentation
Objective evidence must be recorded for regulatory compliance. Maintain a daily log documenting the date, specific sterilizer used, cycle load number, operator initials, and the pass or fail status of the indicators. This traceability is your primary defense in the event of a suspected infection control breach.
![Sterilization Pouch Roll]()
Sizing Matters: Maximizing Efficiency with Proper Pouch Sizing
Selecting the correct physical dimensions for your packaging is a frequently overlooked aspect of the workflow. Improper sizing directly impacts the physics of steam penetration and the mechanical durability of the barrier.
The Dangers of Overstuffing
Attempting to force oversized or too many instruments into a small enclosure creates severe risks. First, overstuffing places excessive mechanical stress on the heat-sealed seams. During thermal expansion in the autoclave, these seams easily burst. Second, tightly packed instruments create shadowing. Tools are pressed so closely together that steam cannot circulate around them. Consequently, the sterilant fails to reach the internal indicators.
How to Measure Instruments for the Perfect Fit
To ensure optimal steam circulation, adhere to the standard rule of thumb for sizing. Leave a minimum of one inch of empty space between the edges of the instruments and the sealed borders. Furthermore, fill the volume capacity to a maximum of 75 percent. The tools should be able to slide slightly within the package when moved.
Self Seal Pouch vs. Sterilization Pouch Reel: Which is Best for Your Clinic?
Clinics must optimize their inventory based on specific instrument turnover rates. The choice generally comes down to two primary formats. Both offer distinct operational advantages based on your facility workflow.
| Feature | Self Seal Pouch | Sterilization Pouch Reel |
| Format | Pre-cut individual units | Continuous uncut roll |
| Sealing Method | Pre-attached adhesive strip | Requires medical heat sealer |
| Best Used For | Standardized instruments, high-speed turnover | Unconventional lengths, heavy surgical tools |
| Equipment Needed | None | Rotary or impulse sealer (180-220 degrees Celsius) |
| Material Specs | 60gsm/70gsm medical paper + PET/CPP film | 60gsm/70gsm medical paper + PET/CPP film |
The Convenience of the Self Seal Pouch
A self seal pouch is manufactured as an individual, pre-cut unit featuring a pre-folded adhesive flap. Designed for maximum speed, this format is highly efficient for high-volume clinics processing standardized instruments like dental mirrors or basic surgical scissors. Staff do not need additional equipment to secure the packaging. This streamlines the workflow in busy sterile processing areas.
Flexibility and Cost-Effectiveness of a Sterilization Pouch Reel
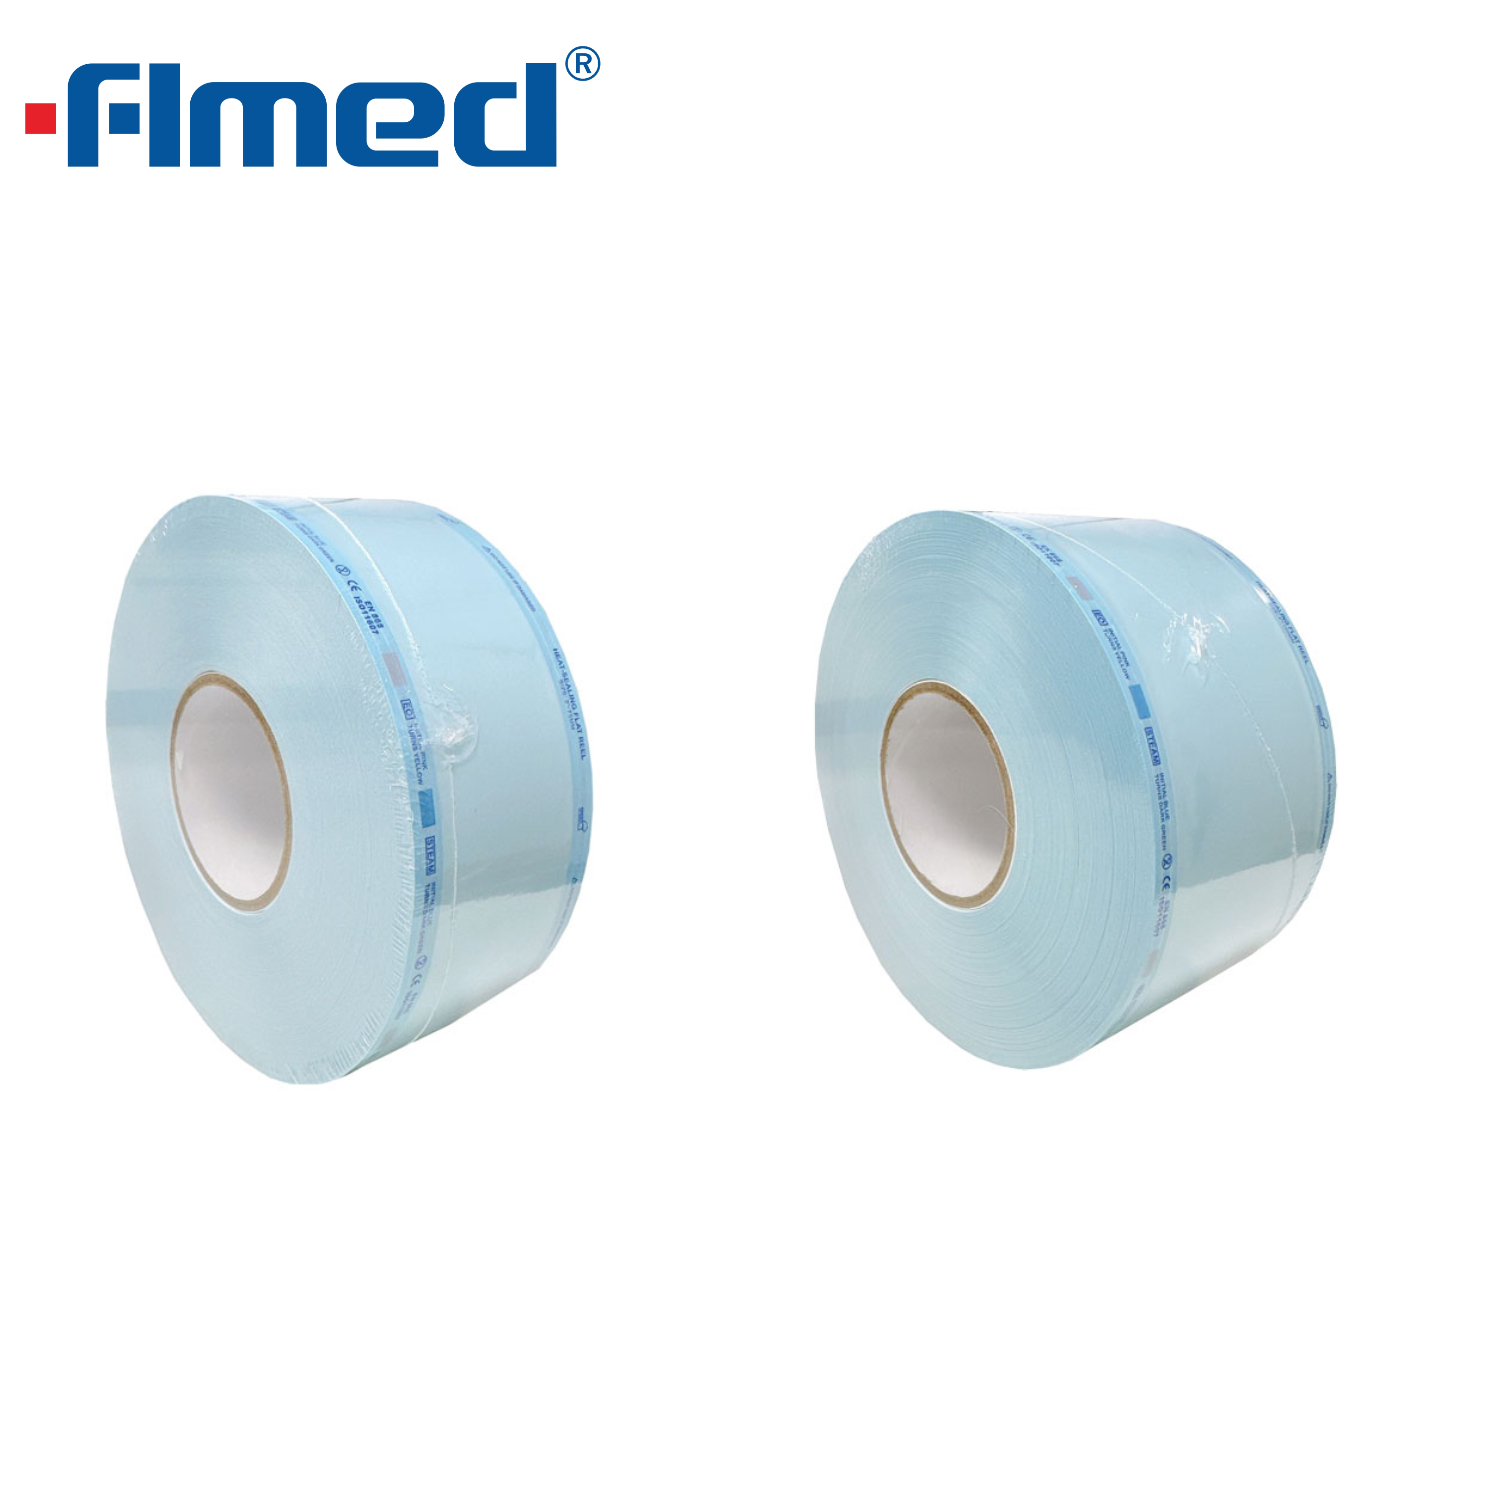
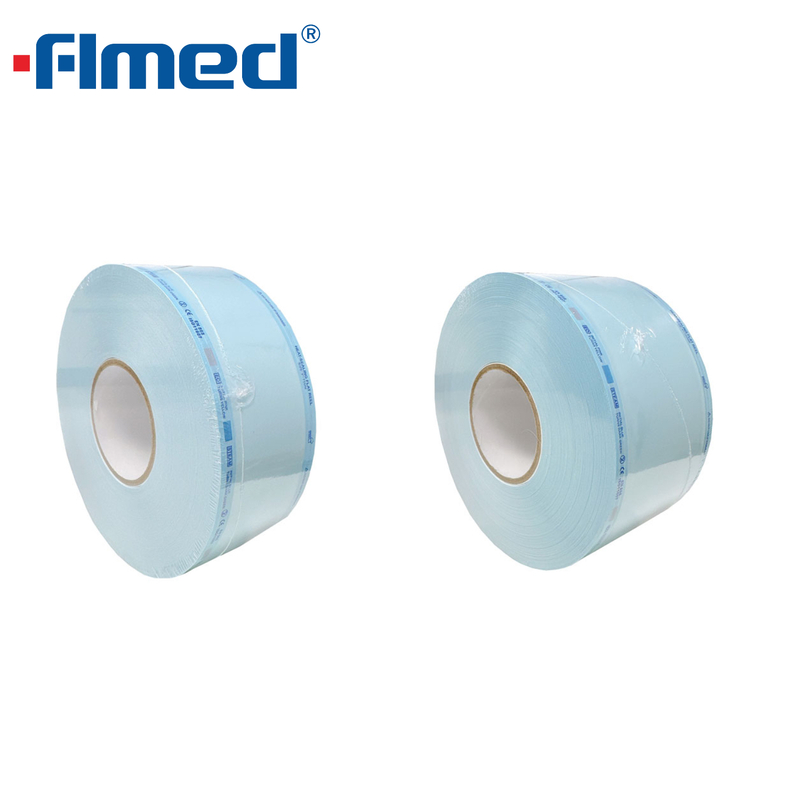
Conversely, a sterilization pouch reel consists of the same medical-grade materials but is supplied as a continuous, uncut roll. This format is exceptionally beneficial for surgical centers utilizing instruments of unconventional lengths. Instead of wasting material by using an oversized bag for a small item, staff cut the reel to the exact length required. While it demands an initial investment in a calibrated medical heat sealer, it provides unparalleled flexibility for complex instrument loads.
Navigating Industry Trends in Sterilization Monitoring
Recent market data and industry analyses highlight a rapid evolution in clinical infection control protocols. Today's healthcare facilities are increasingly moving away from basic, single-variable indicators. The industry standard is shifting toward highly sensitive Class 5 integrators that mirror biological testing parameters.
Furthermore, as regulatory scrutiny tightens globally, there is a distinct trend favoring digital traceability. Clinics are integrating smart logging software with high-quality sterile barriers to instantly cross-reference indicator results with patient records. This shift underscores a broader consensus. Proactive, objective verification is replacing outdated assumption-based practices. Upgrading to advanced monitoring systems is no longer just a compliance measure. It is a critical component of modern clinical risk management.
7 Daily Errors to Avoid with Medical Sterilization Packaging
Even with premium supplies and calibrated autoclaves, human error during the packaging phase easily compromises safety. Train your staff to actively avoid these common daily mistakes:
Folding Incorrectly: Failing to fold a self-sealing flap exactly on the manufacturer perforated line creates micro-channels in the adhesive matrix. This allows airborne pathogens to enter during storage.
Writing on the Paper Side: Using a marker directly on the porous paper is a severe compliance violation. Solvents bleed through, compromising the barrier and leaving toxic residue. Always write on the transparent plastic film using a non-toxic marker.
Overlapping Packages in the Autoclave: Stacking packages flat on top of one another blocks latent heat transfer. Always place them on their edges in a specialized rack, with the paper side of one facing the plastic side of the next.
Improper Double-Pouching: If double-pouching is necessary for the operating room, the inner package must be properly sized. It should not need to be folded to fit inside the outer one. Folding traps air and blocks steam.
Ignoring Faded Indicators: A faded or incomplete color change is not a close enough result. It is a definitive failure. Using these instruments exposes patients to severe infection risks.
Premature Removal: Patience is mandatory. Removing loads while they are still warm and damp leads to condensation and wet packs. Let them dry completely inside the chamber.
Poor Storage Environments: Storing sterile packages under sinks, near ultrasonic cleaners, or in high-humidity areas degrades the paper matrix over time. Utilize clean, dry, enclosed cabinets.
CDC Guidelines and Compliance for Sterilization Monitoring
Adhering to official guidelines is an ethical and legal requirement. The Centers for Disease Control and Prevention outlines specific, multi-tiered protocols for monitoring efficacy.
Mechanical, Chemical, and Biological Monitoring
Compliance requires a combination of three systems. Mechanical monitoring involves checking the sterilizer digital printouts for time, temperature, and pressure. Chemical monitoring relies on the internal and external indicators discussed throughout this guide. Finally, biological monitoring remains the most rigorous test. It uses highly resistant bacterial spores to confirm the machine is actively killing microorganisms.
What to Do When a Pouch Indicator Fails
If a chemical indicator fails to change color, clinics must follow a strict protocol. Do not use any instruments from that specific load. Immediately pull the entire batch from circulation and cross-reference the mechanical logs to identify potential machine errors. The instruments must be cleaned, placed in fresh packaging, and re-sterilized. If failures persist, the autoclave must be taken out of service until a biological spore test proves it is functioning correctly.
Conclusion
Proper sizing, meticulous handling, and strict indicator monitoring form the bedrock of patient safety. Whether your facility relies on the rapid convenience of pre-cut formats or the custom flexibility of continuous rolls, choosing the right packaging improves workflow efficiency dramatically. Always verify both internal and external chemical indicators daily. Your sterile barrier acts as the final defense against healthcare-associated infections.
Take the time to audit your current protocols and correct daily handling errors. To protect your practice and ensure uncompromising patient safety, explore the professional range of compliant medical packaging solutions at Forlong Medical today.
FAQ
How long does a sterilization pouch remain sterile?
Sterility is generally event-related rather than time-related. A properly processed package remains sterile indefinitely as long as the barrier is not torn, punctured, wet, or otherwise compromised. However, some local health departments or specific clinic policies adhere to a strict expiration date of six months or one year. Always follow your facility infection control guidelines.
Can I use indicator tape instead of a pouch with built-in indicators?
Tape is primarily an external process indicator used for securing and monitoring wrapped surgical cassettes. If you are using standard paper-plastic packaging, you still require an internal chemical indicator placed alongside the instruments. This verifies that pressurized steam successfully penetrated the barrier.
What is the difference between a Class 1 and Class 4 sterilization indicator?
Class 1 indicators are basic process indicators like external tape that only confirm the package was exposed to heat. In contrast, Class 4 indicators are multi-variable indicators placed internally. They react only when two or more critical parameters, such as specific temperature levels and adequate steam exposure time, have been successfully met.
Why did my sterilization pouch indicator not change color?
Common culprits for indicator failure include overloading the sterilizer chamber, overlapping packages which physically blocks steam penetration, an aborted cycle, or using expired packaging materials. If an indicator fails, the instruments are definitively not safe for use and must be completely reprocessed in a new cycle.
Should sterilization pouches be placed paper up or plastic up in the autoclave?
For optimal steam circulation, pouches should be placed on their edges in a specialized rack rather than laid flat. However, if laying them flat is unavoidable due to equipment constraints, they should generally be placed paper side up. This orientation allows steam to penetrate the porous paper more effectively and aids in the drying process.
Can you double pouch instruments for sterilization?
Yes, double pouching is frequently used in surgical settings to provide an extra layer of protection during transport. When double pouching, ensure the inner pouch is properly sized so it lays flat inside the outer pouch without folding. Place the paper side of the inner pouch facing the paper side of the outer pouch to ensure unhindered steam penetration.

 English