Did you know a single air bubble can cause severe clinical complications? Setting up intravenous therapy might seem like a straightforward routine task in a bustling medical environment. Yet skipping the vital priming step risks patient safety and compromises the entire treatment process. In this comprehensive guide, we will explore exactly why you must flush your equipment, how to execute the procedure flawlessly, and the essential mechanical components involved.
Key Takeaways
Prevents Air Embolisms: Flushing removes trapped ambient air from the tubing, protecting patients from potentially fatal vascular blockages.
Ensures Accurate Dosing: Purging the line guarantees the patient receives the exact prescribed medication volume without dangerous delays.
Verifies Equipment Integrity: The preparation process acts as a functional test run to spot leaks, structural blockages, or faulty connections before patient attachment.
Improves Patient Comfort: A properly prepared setup ensures a smoother, uninterrupted fluid flow, significantly reducing the need for bedside troubleshooting.
Understanding the Equipment and the Priming Process
The Physical Bridge of Fluid Delivery
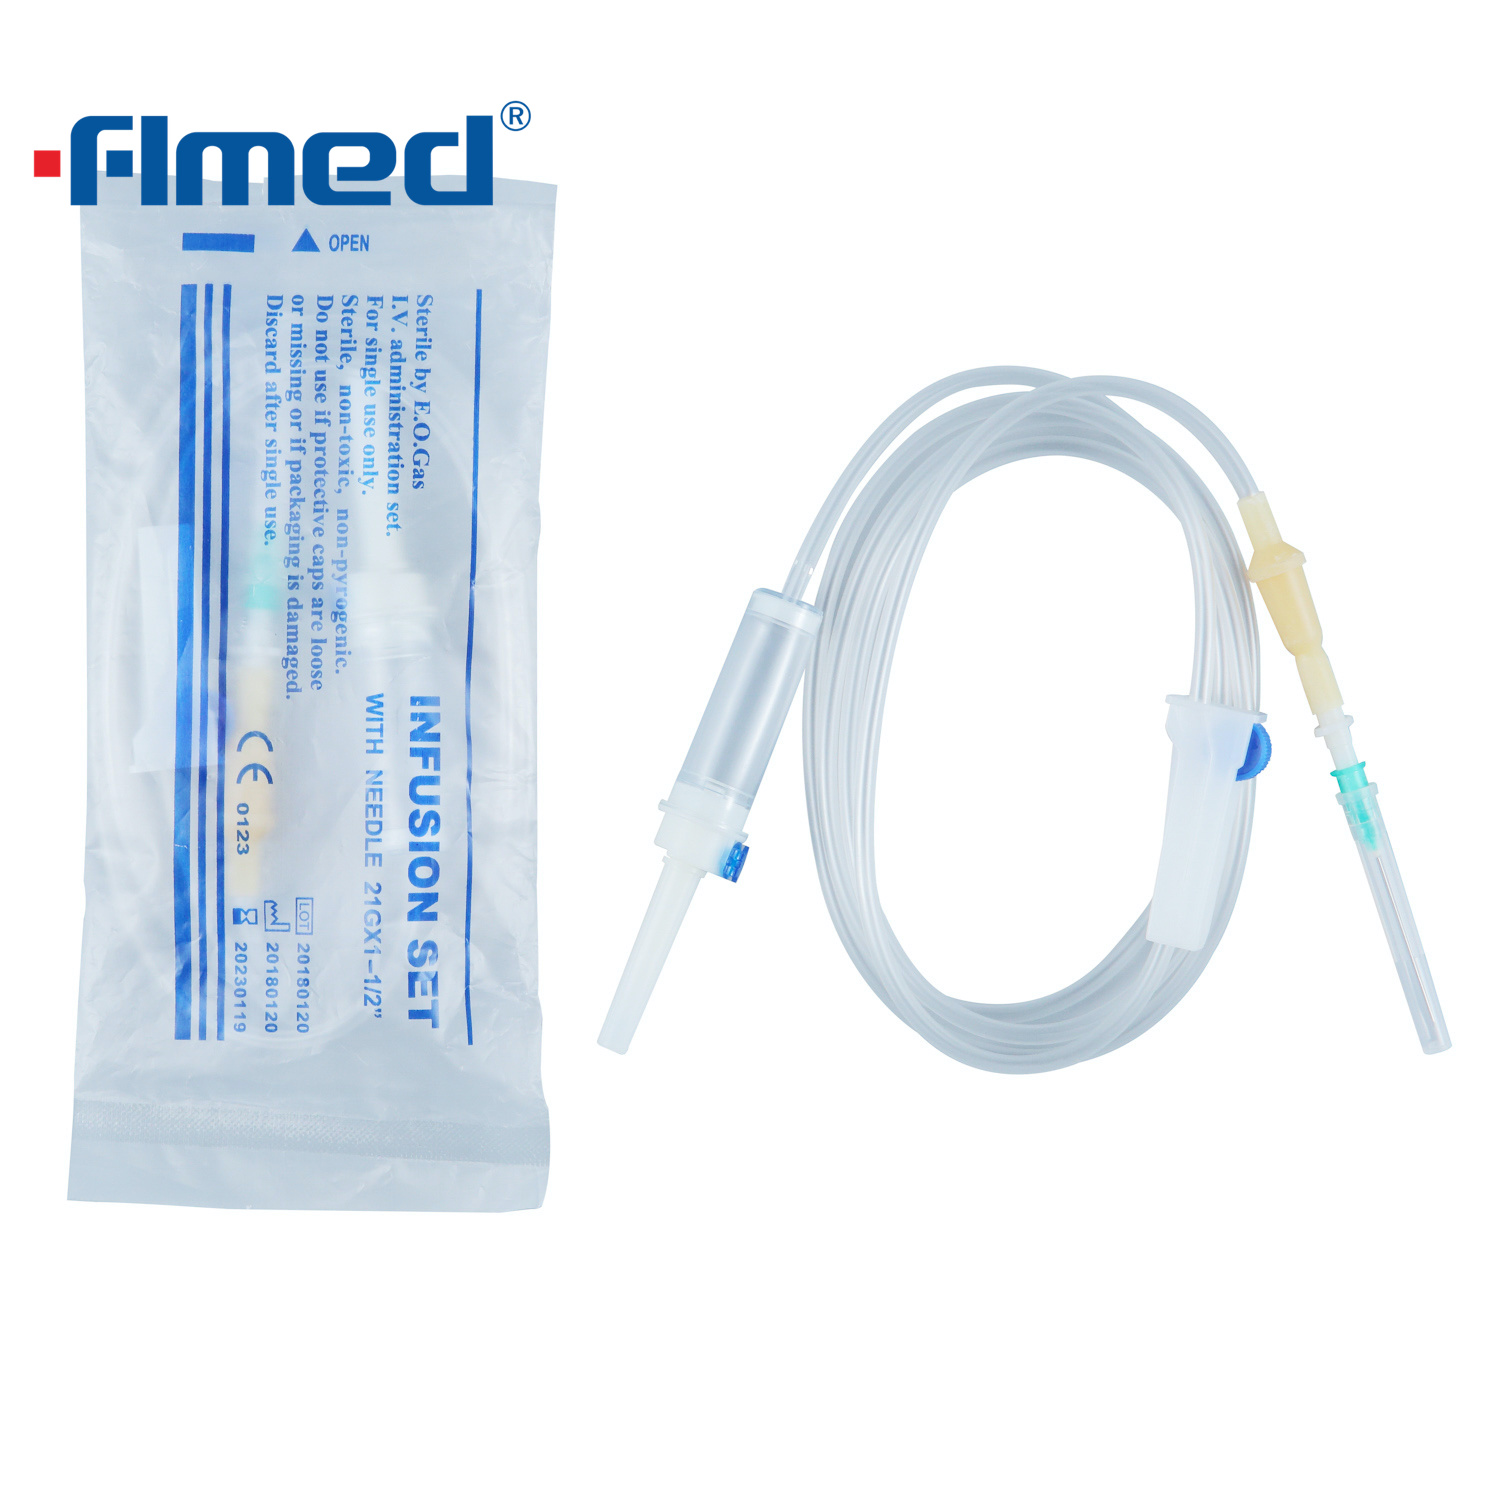
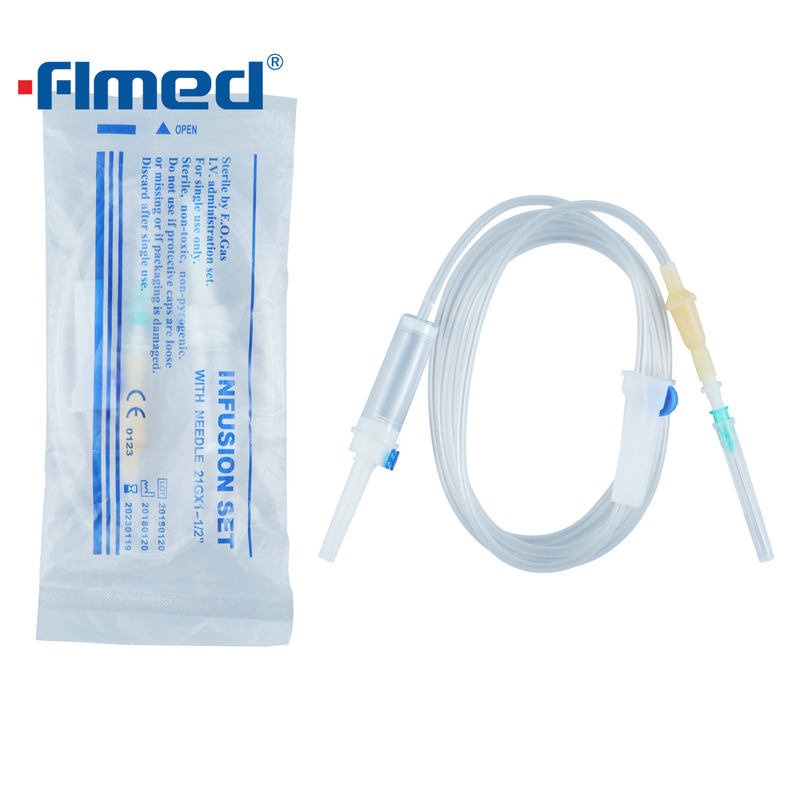
In high-stakes clinical environments, fluid delivery systems demand absolute reliability. An iv infusion set serves as the critical physical bridge between a sterile fluid container and a patient's venous system. Standard medical setups generally consist of a sharp sterile spike, a transparent drip chamber calibrated for specific flow rates like 20 drops per milliliter, flexible PVC tubing usually spanning 150cm to 180cm, a precision flow-regulating clamp, and a terminal connector. Without this specialized conduit, delivering life-saving medications directly into the bloodstream remains impossible.
The Mechanics of Priming
In professional practice, priming refers to the manual process of flushing the intravenous tubing with liquid before making any physical connection to the patient. Because empty tubing naturally holds ambient air, allowing the therapeutic fluid to travel through the entire length of the line expels this air completely. Consequently, healthcare providers can ensure that only the prescribed liquid enters the vascular system.
![IV Infusion Set Preparation and Priming Process]()
The Critical Reasons: The Necessity of Flushing IV Lines
Mitigating Severe Vascular Risks
The absolute most critical reason to prepare your equipment is to prevent an air embolism. This life-threatening condition occurs when one or more air bubbles enter a vein or artery, traveling through the bloodstream to block vessels in the heart, lungs, or brain. By completely displacing the air in the tubing with fluid, caregivers eliminate this severe clinical risk, ensuring the patient's respiratory and cardiac systems remain uncompromised.
Guaranteeing Immediate Therapeutic Action
Medical tubing contains a specific internal volume known as dead space. If a provider inadvertently connects an unprimed line, the initial volume delivered by the pump or gravity simply consists of the empty air residing inside the tube. Therefore, the patient experiences a dangerous delay in receiving the active medication. Flushing fills this dead space with the actual therapeutic fluid, guaranteeing immediate and accurate dosing from the very first drop.
Confirming Line Patency and Structural Integrity
Beyond basic safety, this procedure serves as an excellent functional test for the medical consumables. As the liquid cascades down the line, nurses can visually confirm line patency, meaning the tube is completely open and unobstructed. Furthermore, fluid placed under gravitational pressure quickly exposes any structural weaknesses in the setup. Caregivers can meticulously inspect the entire length of the tubing for drips or weeping joints, maintaining a strictly sterile system before any physical contact occurs.
Industry Trends: The Evolution of Safe Fluid Delivery
Looking at recent developments in the medical consumables sector, there is a clear industry shift toward advanced patient-safe materials and automated safety mechanisms. Market analysis reveals a rapidly growing demand for DEHP-free and completely PVC-free tubing. This transition aims to mitigate long-term chemical exposure risks, particularly for vulnerable populations receiving aggressive chemotherapy or prolonged nutritional support. Moreover, modern clinical guidelines increasingly emphasize safety-engineered devices featuring auto-priming filters and anti-run-dry technologies. These innovations minimize accidental disconnections, streamline the preparation process, and significantly reduce nursing fatigue, reflecting a broader healthcare commitment to zero-harm environments.
Anatomy of an Infusion Set: Key Components Engineered for Safety
To execute this procedure effectively, practitioners must understand the tactile feel and mechanical function of specific components. Below is a breakdown of the primary parts you will handle during setup.
Vented Spike: Pierces the fluid bag to access the liquid while allowing air displacement in rigid containers; must remain absolutely sterile.
Drip Chamber: Prevents air from entering the downward tubing while allowing visual monitoring of the flow rate.
Roller Clamp: Mechanically compresses the flexible plastic to control or completely halt the fluid flow with high precision.
Terminal Connector: The end piece that attaches to the patient's catheter, acting as the exit point for expelled air.
Connector Mechanisms and Friction Fits
At the patient end of the tubing, you will encounter a specific type of connector designed for secure attachment. A standard luer slip relies on a tapered friction-fit design where the provider simply pushes the needle hub onto the tip with a slight twist. In contrast, a lock mechanism uses threaded collars for a more secure twist-on connection. Verifying a tight friction-fit joint during the flushing stage is crucial to prevent unexpected leaks under fluid pressure.
Selection Guide: Matching Equipment to Clinical Demands
Selecting the appropriate specifications fundamentally impacts the success of the intravenous therapy. Rather than relying on a one-size-fits-all approach, clinical engineers and procurement teams must match the equipment parameters to the specific treatment protocol.
| Component Requirement | Standard Therapy Recommendation | Clinical Advantage |
| Tubing Material | DEHP-free PVC, 150cm length | Prevents toxic leaching, offers optimal mobility without excessive dead space. |
| Needle Specification | 21G x 1 1/2 inch dimension | Balances consistent flow rates with minimal tissue trauma during insertion. |
| Terminal Connection | Precision Tapered Slip | Enables rapid attachment and detachment for routine hydration therapies. |
Integrating the Right Needle
Pairing high-quality tubing with the correct access device ensures smooth fluid delivery. For routine hydration and standard medication therapies, integrating a precision-beveled 21g needle provides an excellent balance. The lumen is wide enough to accommodate necessary flow rates yet narrow enough to minimize localized insertion pain.
Step-by-Step Guide: Executing a Flawless Prime
Step 1: Establish a Sterile Workspace
Before beginning any form of iv administration, gather the prescribed fluid bag, the sterile tubing package, alcohol swabs, and the appropriate venous access device. Perform rigorous hand hygiene and don medical-grade gloves to eliminate cross-contamination risks.
Step 2: Secure the Flow Control
Upon unwrapping the sterile packaging, immediately locate the roller clamp. Roll the wheel firmly downward to the fully closed position. Leaving the clamp open when spiking the bag causes fluid to rush in uncontrollably, generating excessive micro-bubbles that are notoriously difficult to extract later.
Step 3: Access the Fluid and Establish the Drip
Remove the protective caps from both the bag port and the tubing spike. Using an aseptic technique, push and twist the spike upward into the fluid container. Once hung on the pole, gently squeeze and release the flexible drip chamber until it fills halfway. Avoid overfilling this chamber, as you must maintain a visible air gap to monitor the falling drops accurately.
Step 4: Purge the Line
Hold the terminal end of the tubing over a sterile receptacle. Slowly roll the clamp upward, cracking it just enough to open the line. Watch closely as the liquid travels down the transparent plastic, pushing the column of air out through the tip. Once a steady uninterrupted drop of fluid emerges and no visible air gaps remain, securely close the clamp.
Troubleshooting Common Mechanical Anomalies
Even seasoned healthcare professionals occasionally encounter mechanical resistance when preparing a line. Addressing these minor functional issues promptly is vital to maintaining the sterile integrity of the entire setup.
Eradicating Clinging Micro-Bubbles
Due to surface tension and static electricity on the inner walls of the PVC tubing, tiny pockets of air often cling stubbornly to the plastic. To resolve this, hold the tubing taut and briskly tap the affected area with a pen or your fingernail. The kinetic vibration disrupts the surface tension, allowing the bubbles to detach and float upward into the drip chamber.
Diagnosing Flow Failures
A failure of fluid to travel downward usually indicates a mechanical obstruction. If you open the clamp and nothing happens, run through a rapid diagnostic check. Ensure the wheel is genuinely rolled into the fully open position. Examine the drip chamber; if it is completely full rather than half-full, the system lacks the necessary air displacement space to allow flow. Finally, massage any kinked areas in the tubing caused by tight factory packaging to restore the circular lumen.
Conclusion and Next Steps
Properly preparing your intravenous equipment is a non-negotiable safety protocol that bridges the gap between raw medical supplies and successful patient treatment. It meticulously removes trapped air, ensures perfectly accurate dosing, and allows caregivers to verify the mechanical integrity of their tools. By adhering to strict preparation protocols and sourcing premium medical consumables, healthcare providers can confidently protect their patients and elevate overall clinical outcomes.
To ensure your facility operates with the highest safety standards, evaluating your current consumable supplies is essential. Explore compliant, safety-engineered fluid delivery solutions and upgrade your clinical toolkit by visiting Forlong Medical today to find the exact specifications your treatment protocols demand.
Frequently Asked Questions
What happens if you fail to flush an infusion set?
Failing to purge the tubing leaves a significant volume of ambient air inside the line. When the fluid begins to flow, this air is pushed directly into the patient's vascular system. If a large enough volume enters the bloodstream, it creates a mechanical blockage known as an air embolism, resulting in a severe and potentially fatal medical emergency.
Can you perform the priming process with the needle attached?
Yes, it is standard clinical practice to flush the line with the needle or catheter attached to the distal end. However, the protective plastic cap must remain over the needle during this process. The cap should be slightly loosened to allow displaced air to escape, ensuring the needle remains completely sterile until the exact moment of tissue insertion.
How much fluid is needed to clear standard IV tubing?
The exact volume depends entirely on the internal diameter and total length of the tubing being used. Generally, standard adult IV tubing requires approximately 15 to 25 milliliters of fluid to completely displace the air. Letting a few extra drops fall into a receptacle guarantees all microscopic air pockets are successfully flushed out.
Are micro-bubbles in the IV line actually dangerous?
While introducing large volumes of air is highly dangerous, a few microscopic bubbles clinging to the side of the tubing are generally absorbed by the body without causing harm to an adult patient. Nevertheless, clinical best practice dictates that healthcare providers must tap the tubing and remove as many of these tiny bubbles as physically possible to maintain absolute safety.
How often should IV tubing be changed in a clinical setting?
To prevent catheter-related bloodstream infections, standard clinical guidelines recommend changing continuous primary and secondary continuous administration sets every 96 hours. However, tubing used for blood products, lipid emulsions, or specific high-risk medications requires much more frequent replacement, often every 12 to 24 hours depending on strict hospital protocols.
What is the difference between a friction slip and a threaded lock on an infusion set?
These terms describe the specific mechanical design used to attach the tubing to the patient's needle hub. A slip design utilizes a smooth tapered end relying purely on physical friction where the user pushes the components together. A lock design features internal threads on a rotating collar, allowing the practitioner to twist and securely lock the components, completely preventing accidental disconnection under pressure.

 English