Securing wound dressings without causing secondary skin damage is a critical challenge. This daily struggle spans both high-stakes clinical environments and everyday home care routines. We frequently see Medical Adhesive-Related Skin Injury (MARSI) drastically disrupt patient comfort. It also extends standard healing timelines. These unexpected injuries complicate recovery by introducing unnecessary pain. They elevate infection risks to dangerous levels. Treating these secondary wounds diverts valuable time away from primary care and increases supply utilization.
This article establishes a clear, evidence-based framework. We aim to help you select the exact right materials for every unique skin type. You will learn how to apply them safely. Our methods actively minimize allergic reactions, tension blisters, and epidermal tearing. By adopting these clinical standards, you can transform routine dressing changes into a safe, painless process.
Key Takeaways
Skin irritation is largely preventable by pairing the correct adhesive chemistry (e.g., acrylate or silicone) with the patient's skin profile.
Proper application requires a "zero-tension" technique and pressure activation to secure the dressing without mechanical stress.
Removing tape vertically is the primary cause of skin tearing; a 180-degree "low and slow" parallel pull is the clinical standard.
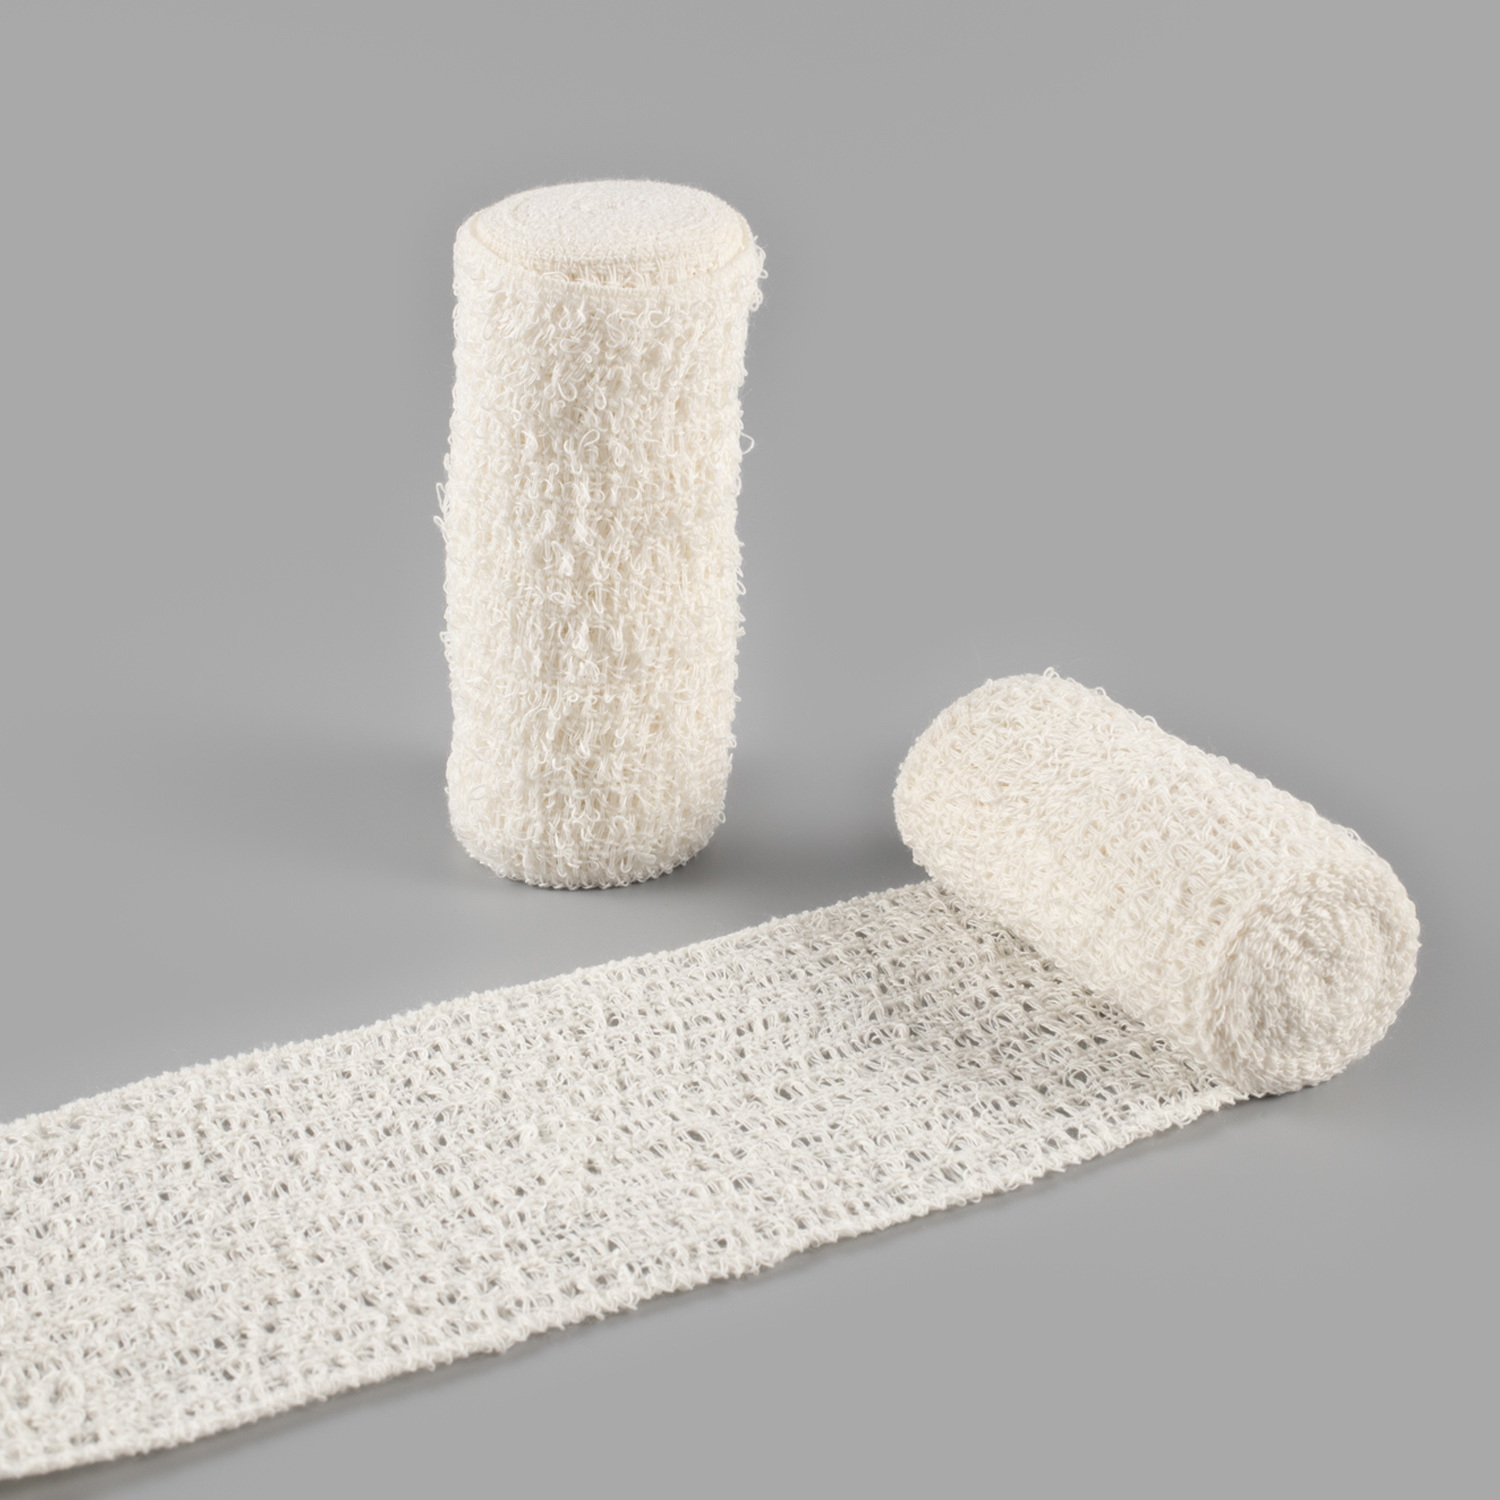
Dynamic areas (like joints) often require tape-free alternatives, such as cohesive wraps over a medical gauze bandage.
Understanding MARSI and Evaluating Risk Factors
Care providers define MARSI as Medical Adhesive-Related Skin Injury. It occurs when superficial skin layers detach during adhesive removal. Frequent dressing changes multiply this localized trauma. The skin simply never gets adequate time to recover. Delayed healing becomes inevitable under these conditions. Open skin tears invite harmful bacteria into the vulnerable site. This significantly increases systemic infection risks. It also drives up overall supply utilization because secondary wounds require additional treatments.
We must differentiate between the two primary root causes of irritation. Chemical irritation often manifests as allergic contact dermatitis. Highly aggressive adhesives trigger a localized immune response. Redness, severe itching, and inflammation usually follow. Mechanical irritation operates differently. It causes direct physical damage. Tension blisters form when you stretch tape during application. Epidermal stripping happens when you rip tape off carelessly.
Evaluating your care protocols is an absolute necessity. Care teams must standardize tape application and removal procedures. Inconsistent techniques lead to wildly unpredictable patient outcomes. Standardizing these workflows mitigates major compliance and safety risks.
Best Practices for Evaluation
Audit your current supply closet to identify outdated, aggressive synthetic tapes.
Track patient feedback regarding pain during dressing changes.
Implement a strict reporting protocol for newly discovered skin blisters.
Solution Categories: Selecting the Right Tape and Gauze
Skin irritation is largely preventable if you understand the underlying materials. You must pair the correct adhesive chemistry and substrate matrix to the patient's specific skin profile. This pairing logic dictates the success of your dressing protocol.
The Adhesive Framework (Chemical Logic)
Acrylate adhesives offer an optimal balance for daily use. They remain highly breathable and leave minimal sticky residue behind. These copolymers provide excellent flexibility. They boast a very low-allergy profile. This makes acrylate the ideal choice for standard clinical shortlisting. Synthetic adhesives function differently. They possess an aggressive initial grip. They carry a high risk of leaving residue and causing chemical irritation. You should reserve synthetic options strictly for high-moisture environments or critical-hold scenarios.
The Substrate Matrix (Physical Logic)
The physical backing of the tape determines its structural behavior. You must evaluate the substrate based on the specific anatomical location and expected wear time.
Substrate Type | Primary Characteristics | Ideal Clinical Use Case | Removal Pain Level |
|---|
Silicone Tape | Constant, gentle adherence; easily repositionable | Fragile, elderly, or pediatric skin | Zero to Low |
Paper (Surgical) Tape | Lightweight, highly breathable, hypoallergenic | Dry environments and frequent dressing changes | Low |
Cloth Tape | Low stretch, high structural rigidity, minimal airflow | Anchoring heavy primary dressings securely | Medium to High |
Pairing Logic
You must match the tape's tensile strength to the weight of your primary dressing. Heavy, highly absorbent pads require rigid support. Using a lightweight paper tape on a massive dressing leads to premature failure. Conversely, applying rigid cloth tape over a thin medical gauze bandage overkills the application. It subjects the surrounding healthy skin to unnecessary mechanical shear.
The Zero-Tension Application Protocol (Step-by-Step)
Correct application ensures secure adherence without transferring mechanical stress to the epidermis. Follow this standardized step-by-step procedure to guarantee safety and compliance.
Skin Preparation and Barrier Protection: Clean and thoroughly dry the designated area. Trim dense hair using scissors or clippers. Never shave the skin. Shaving creates invisible micro-abrasions. These abrasions invite adhesive chemicals deeper into the epidermis. Use an alcohol-free barrier film for sensitive patients. It creates a protective, invisible interface over the skin.
Sizing and The 0.5-Inch Rule: Ensure your sterile pad completely overlaps the wound margin. Cut your strips long enough to extend at least 0.5 to 1 inch beyond the gauze edges. This specific border provides a secure anchor. It distributes sheer force across healthy tissue safely.
Sealing Strategy: Adjust your border seals based on the healing phase.
4-Sided Seal: Use this for fresh, high-exudate wounds. It prevents external bacterial contamination completely.
2-Sided Seal: Transition to this method during later-stage healing. It drastically increases airflow and prevents dangerous moisture trapping.
Zero-Tension Placement: Lay the medical gauze tape completely flat against the skin contour. Never stretch it during application. The material will always attempt to recoil to its original length. This relentless recoil creates shear stress. Shear stress inevitably causes painful tension blisters.
Pressure Activation: Gently rub the surface in place using your fingers. Medical adhesives are inherently pressure-sensitive. They require active physical manipulation to bind properly to microscopic skin contours. Skipping this step leads to early dressing failure.
Implementation Risk
We issue an explicit clinical warning against circumferential wrapping. Do not encircle a limb entirely using rigid adhesive materials. Localized swelling often occurs post-injury. A full circumferential wrap acts like a tourniquet. It severely restricts blood circulation and causes critical complications.
Pain-Free Removal: The "Low and Slow" Standard
Improper removal drives the highest incidence of mechanical skin injury. Caregivers often underestimate the sheer force required to break chemical bonds.
The Angle of Removal
Pulling tape perpendicularly directly upward tears the delicate epidermal layers. The chemical bond strength of the glue easily exceeds the cellular bond strength of human skin. A straight upward pull applies pure vertical stress. The skin simply gives way before the adhesive does.
Execution
The clinical standard dictates a 180-degree parallel pull. First, loosen the very edge using your fingernail. Fold the strip back onto itself precisely at a 180-degree angle. Keep your hand as close to the skin as physically possible. Pull smoothly and steadily. Always move in the natural direction of hair growth. This minimizes follicle irritation.
Skin Support
You must actively support the patient's skin during this process. Press down gently on the adjacent healthy tissue. Use a free finger right at the active peel line. Push the skin away from the tape as you pull. This prevents the fragile epidermis from lifting upwards.
Troubleshooting Stubborn Adhesives
Never use physical force to rip off stubborn adhesives. Force guarantees a severe skin tear. Instead, soften the resilient glue chemically. Medical adhesive removers work perfectly for this task. Standard rubbing alcohol also provides a viable alternative. Swab the edges generously. Wait thirty seconds. The adhesive will soften, allowing a safe, painless release.
Special Scenarios: Joints, Tubing, and High-Mobility Areas
Standard taping protocols fail dramatically when applied to dynamic body regions. You must adjust your materials to accommodate extreme physical movement.
Articulating Joints
Direct taping over elbows or knees almost always causes mechanical friction. The skin over a bent knee expands significantly. Rigid tape cannot accommodate this massive surface expansion. It pulls violently against the skin edges. We highly recommend transitioning entirely away from adhesives here. Use a flexible gauze roll instead. Secure it tightly using a self-adhering cohesive elastic bandage. This combination provides total mobility without friction.
Securing Medical Tubing
Medical tubing requires absolute stability. Unsecured catheters or IV lines pull constantly on taped skin. This movement causes repetitive localized trauma. Clinical-grade fixation models solve this problem effectively.
Chevron Technique: Place the sticky side facing up directly beneath the tube. Cross the two sticky ends over the top of the tube. Anchor them firmly downward onto the skin.
Omega Technique: Center the strip over the top of the tube. Pinch the tape firmly together underneath to wrap the tube securely. Press the remaining tails flat against the skin.
These advanced techniques prevent the tube from moving independently. They transfer the physical load away from the skin insertion site. Mastering these models adds a critical layer of clinical authority to your protocol.
Conclusion
Protecting skin integrity requires precise material selection and disciplined physical techniques. You must always match the specific adhesive chemistry to the patient's baseline skin type. Apply your chosen materials using a strict zero-tension methodology. When it is time for a dressing change, remember the "low and slow" parallel removal standard.
Next-Step Actions:
Audit your current clinical supply kits or home first-aid boxes today.
Shift your baseline care protocols toward premium silicone or low-tension paper tapes.
Standardize application training across all care teams to drastically reduce incident rates.
Stock cohesive wraps to manage dynamic joint injuries effectively.
FAQ
Q: Can I shower with medical gauze tape on?
A: It depends heavily on the specific material. Waterproof transparent films block water effectively, allowing you to shower safely. However, porous cloth or paper varieties absorb moisture immediately. If you wear porous materials, cover them with a specialized waterproof sleeve before showering. Replace any damp dressings immediately to prevent dangerous bacterial growth.
Q: Why does my tape keep falling off?
A: Poor skin preparation usually causes premature detachment. Natural oils, sweat, and body lotions block adhesives from bonding properly. Always clean and thoroughly dry the area first. Additionally, most adhesives require active pressure activation. You must firmly rub the surface after placement to lock it onto your unique skin contours.
Q: How can I secure a medical gauze bandage without tape?
A: Highly reactive skin benefits tremendously from non-adhesive alternatives. Cohesive wraps stick only to themselves, providing excellent flexible compression. Tubular bandages slip easily over limbs to hold dressings snugly in place. Retention nets offer superior breathability while keeping the primary layer firmly anchored over difficult, dynamic areas like shoulders or knees.

 English


